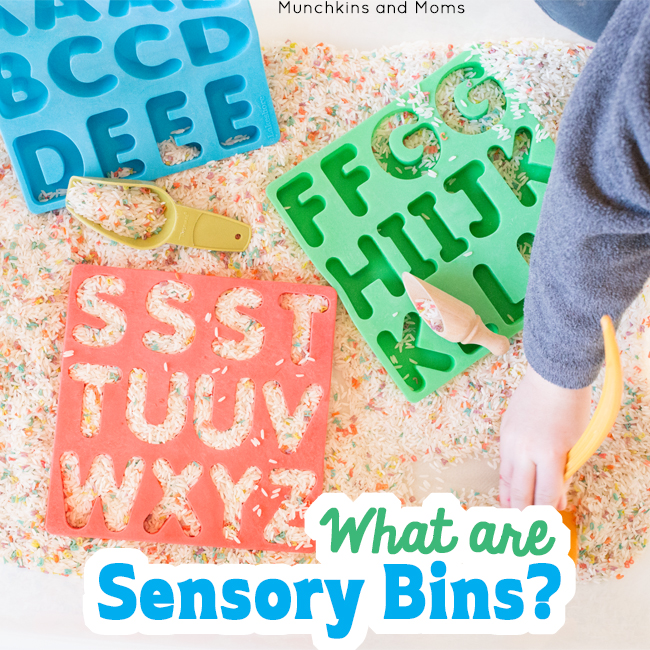
What are sensory bins?
Sensory bins are simply containers filled with materials that excite a child’s senses.
They can be filled with dry food (pasta, beans, legumes, rice, etc.), shredded paper, or even water!

They promote learning through hands-on play opportunities.
(No flashcards or worksheets here! Instead, we prepare invitations to play that are much more developmentally appropriate for toddlers and preschoolers).
What can my child learn from a sensory bin?
This post contains affiliate links
Things munchkins can learn from sensory bins (depending on filler and other materials offered):
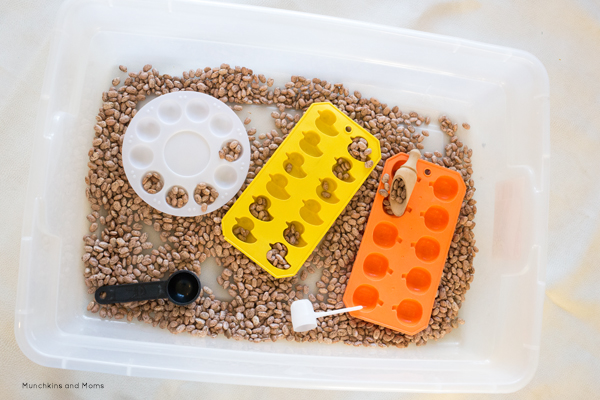
- Measurement (include measuring cups in the bin)
- Practical living skills (encourage pouring materials in the sensory bins)
- Alphabet knowledge (include alphabet puzzle pieces hiding in the sensory filler)
- Math (include number puzzle pieces)
- Science (create habitat sensory bins for small plastic animals)
What’s key in using sensory bins for teaching young children is to play alongside them. Discuss what they are doing. Model how to pour. Show them how to measure.
You don’t have to sit and play the entire time, but carve out a few minutes during sensory bin time to play with and teach your child.
How do I make a sensory bin?
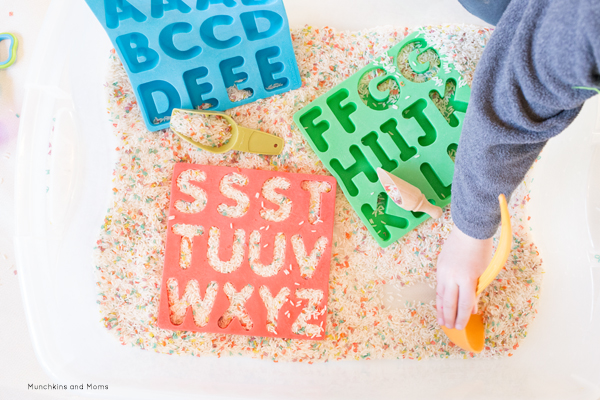
First, you’ll want to choose a filler material or base (I like rice and pasta because it is so inexpensive and easy to dye). Next, add any other materials as you see fit. The rice/pasta/other filler can be combined with kitchen items, recyclables, and even toys to make each sensory bin experience new and exciting.
Read more: How to Create Sensory Bins with Toys your Child Already Has
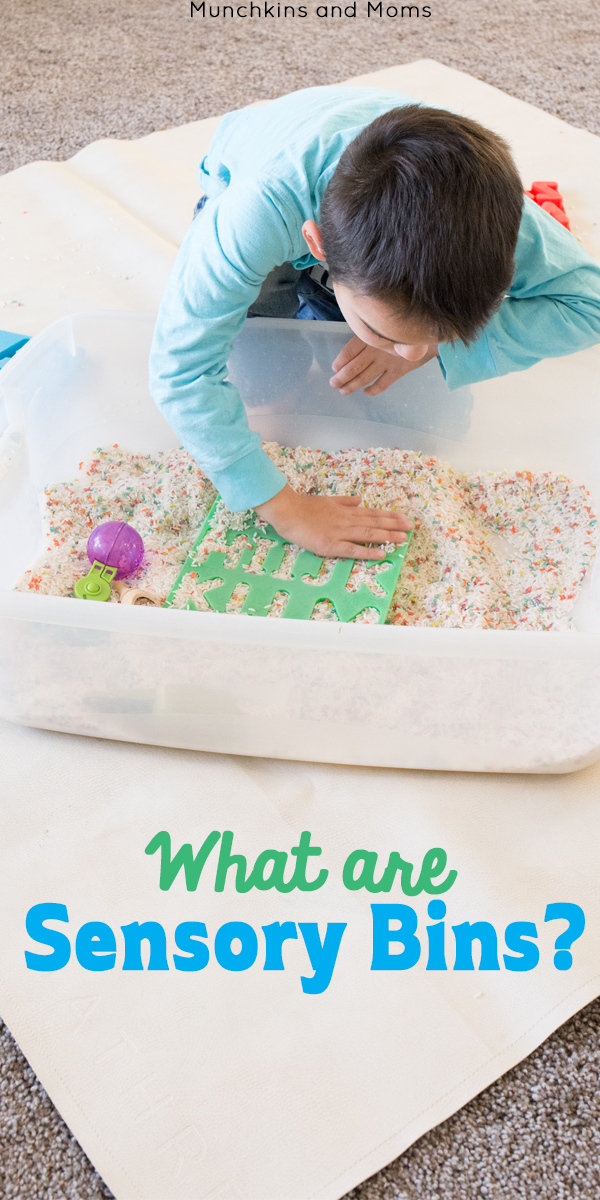
They look messy!!
Sensory bins can be messy…but they don’t have to be! We like to throw down a mat underneath for easy cleanup. You can also use a shower curtain, sheet, flattened cardboard box, rug, etc. to keep the filler material off your floors.
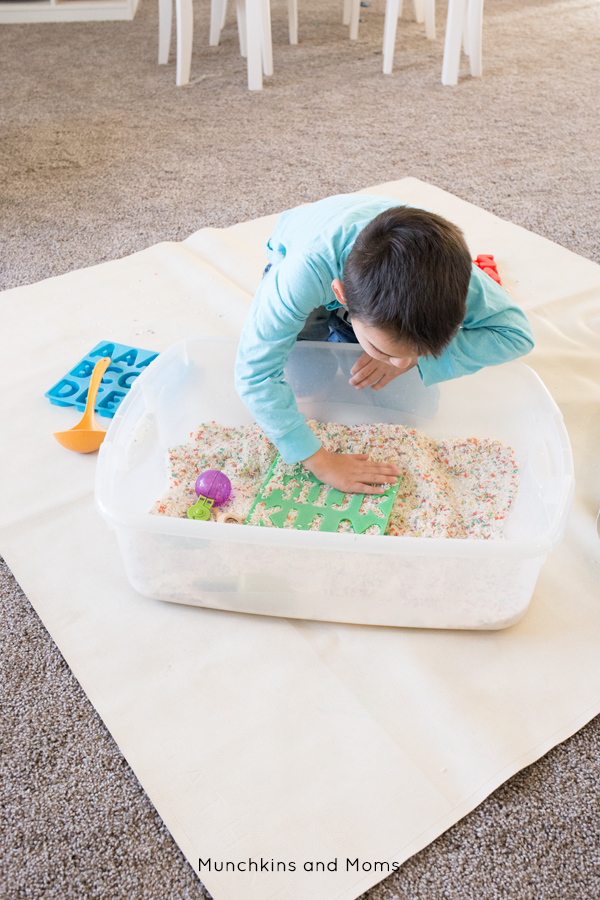
Also, even though it seems counterintuitive to keeping neat, remember the phrase “go big or go home”.
When I first tried sensory bins I used a little baking dish and some beans. It was about 1 tenth the size of the bin above, but somehow it made MORE mess.
The problem was that there really want enough space for my little guys to explore, so the exploration spilled onto the floor.
Take it from me, use a mat underneath and make sure there is plenty of space to exlpore the materials in an appropriately sized bin.
Read more: How to Introduce Toddlers to Sensory Bins
Are they worth the hassle?
I get it. You have to prepare a filler material (including dying rice/pasta, if you wish), track down a large container, throw in some other items, and be ready for the possibility of mess. You’re wondering if sensory bins are really worth the effort.
YES.
What do I need to get started?
- A large plastic container
- Kitchen supplies (tongs, measuring spoons, plastic measuring cups)
- Filler material (shredded paper, pom poms, water, cereal beans, rice, pasta, etc.)
- Anything! The sky is the limit!
That’s all there is to it!
Excellent idea love it thanks
What kind of sheet do you use under the bin?