I love me some dyed rice!
Not to eat though. Definitely not for consumption (since it uses rubbing alcohol).
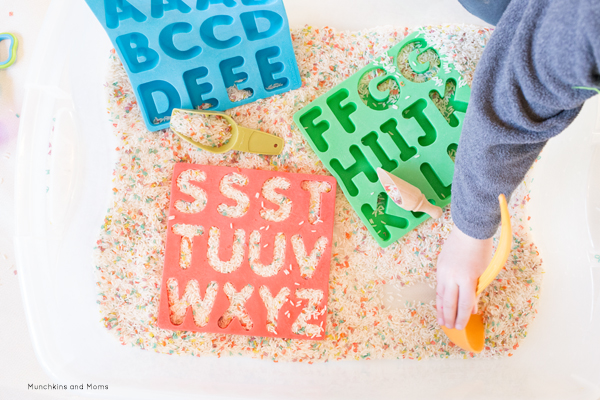
I actually use dyed rice in sensory bins for my preschoolers!
What in the world is a sensory bin??
Sensory bins are containers filled with materials that excite a child’s senses. They offer opportunities for children to learn through play (our favorite kind of learning!)
Read more about sensory bins here
How do you dye rice for a sensory bin?
First of all, you definitely don’t have to dye rice to have an engaging sensory bin! Plain white rice is perfect for a quick pouring and transferring activity. You can even throw some recyclables in there for a no-fuss, high-fun toddler activity!
But if you want to dye rice (or pasta. I like including dyed alphabet pasta in our bins!), read on…
Supplies for Dying Rice (or Pasta) for Sensory Bins
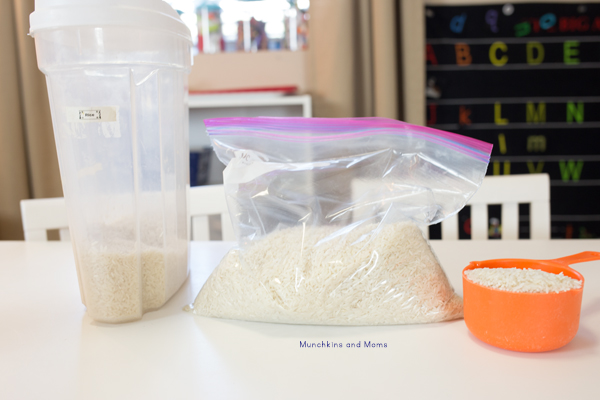
- White rice
- Gallon Ziplock bag
- Rubbing alcohol
- Food coloring
- Paper towels
- Rubbermaid storage container
Easy-Peasy Dyed Rice Instructions
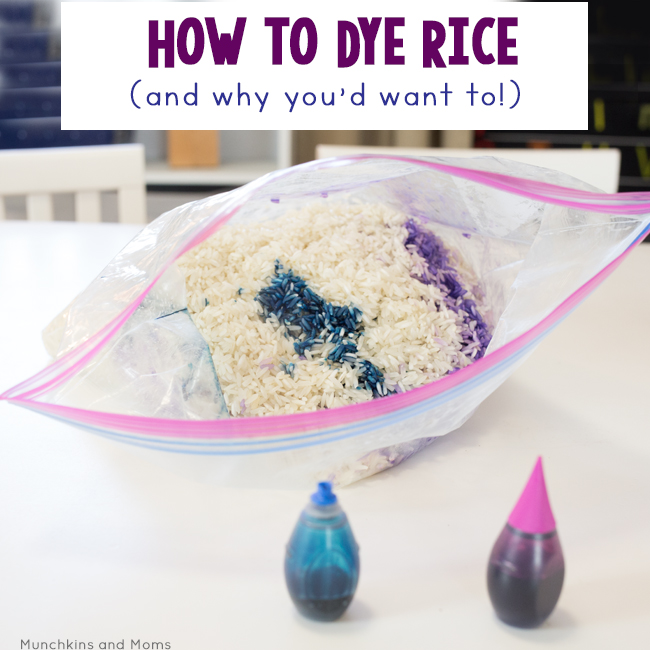
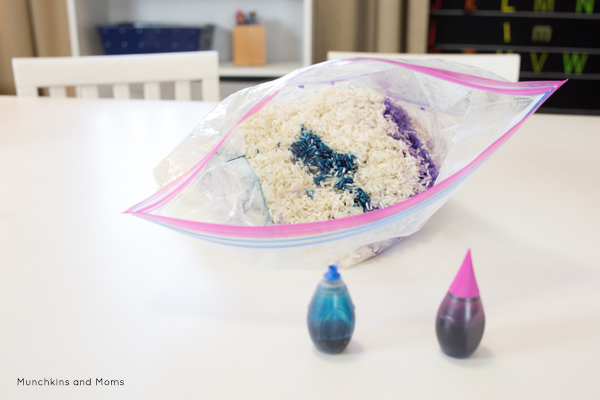
I started with 7 cups of white rice and placed it into a Ziploc bag. Next, I added 1/3 cup of rubbing alcohol with generous amounts of food coloring.
You can separate the rice into different bags to make more than one color. Go ahead and make a rainbow of colors for a beautifully colorful bin!
You can also keep it monochromatic depending on the theme (blue for water/sky representations, green for grass, yellow for hay, etc.)
After I added the alcohol and food coloring, I sealed the bag and shook it like a Poloroid picture!
Once all the color distributed evenly, I laid down paper towels in the bin and poured the rice on top to dry out.
(note- the smell of alcohol will be very strong. Keep this in a well-ventilated area until it dries completely).
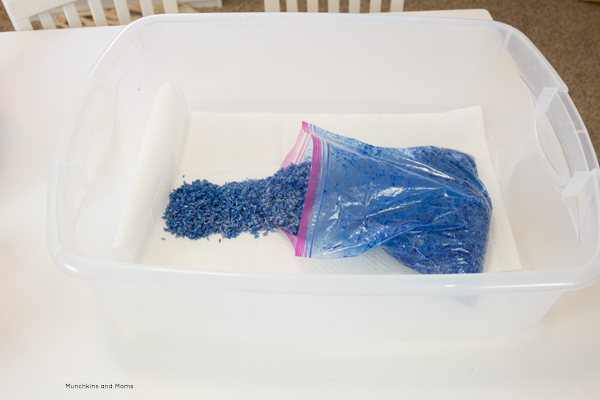
Our rice took about an hour to dry on a warm, sunny day (I occasionally gave it a mix to make sure it dried evenly).
Once the rice dried, it was ready to be used for play!
Ready to make your own sensory bin? Show me the progress on Instagram!
