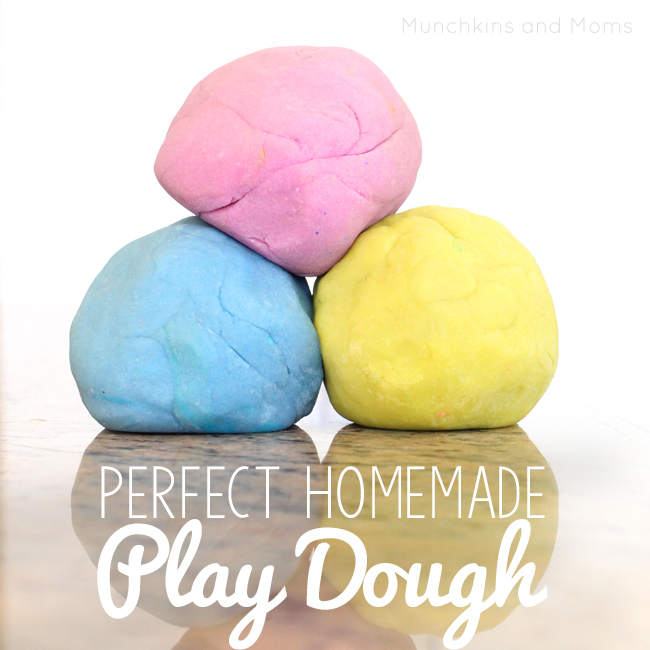
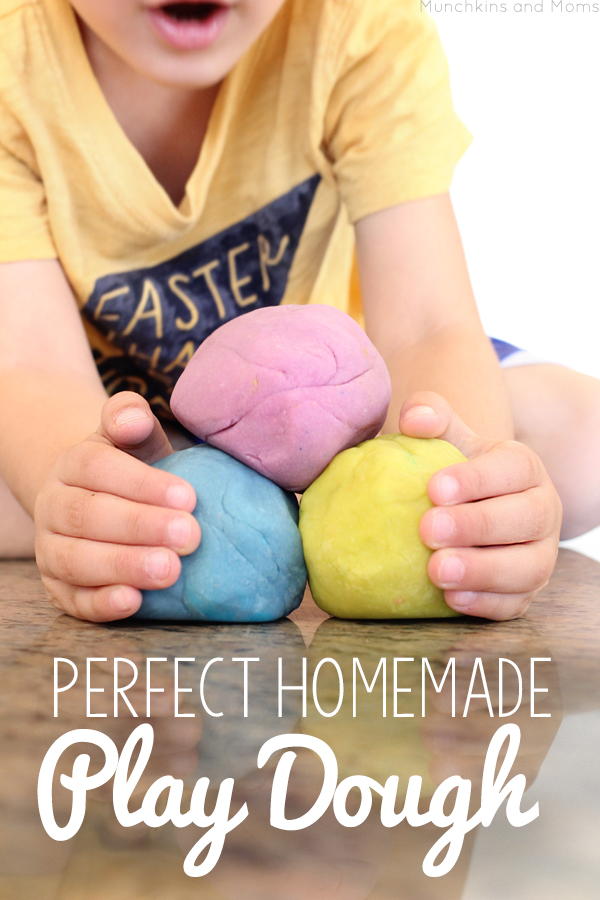
If there is one activity my kids can do every single day, its play with play dough. It never gets old. We combine play dough with toy cars, animal figurines, alphabet stamps, dough tools, etc. etc. etc. My kids are always thinking up new ways to create and play pretend with it! If your kids are similar, you’ve probably bought more (store bought) Play Doh that you have fingers and toes to count. The thing with the brand name version of of this stuff is that, even though the price is right, it tends to dry out much faster than our homemade recipe. And the ingredients for this recipe are all 100% safe for kids who may still taste test it.
This post contains affiliate links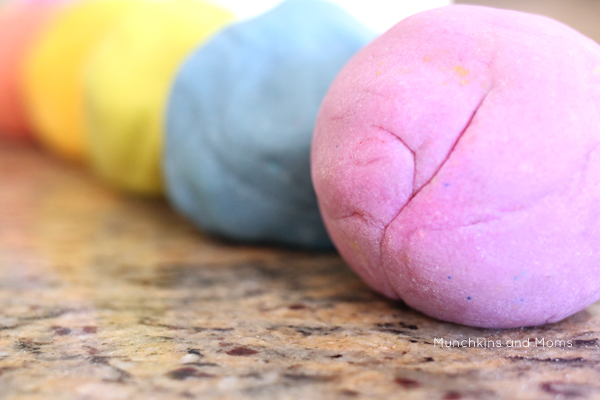
Homemade Play Dough Ingredients
3 cups of flour
1.5 cups of salt
6 tsp. cream of tartar
3 tbsp. oil
3 cups of warm water
Food coloring (we used these neon colors, but they came out more pastel)
The basic kitchen ingredients make me feel good about giving my kids play dough without worry. And one batch makes about 5.5 cups of dough- that’s around 11 cans of store bought cans of Play Doh. How much would 11 cans of Play Doh cost you? I’m guessing more than a few cups of flour and food coloring (not to mention the longevity factor, because as I said before, this dough will definitely last longer!)
Are you ready to try it for yourself? All you’ll need is about 15 minutes and the ingredients above!
How to Make Perfect Homemade Play Dough- Photo Tutorial
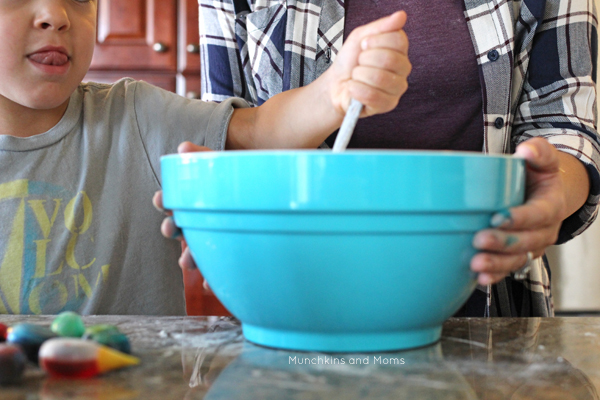
First, mix all your ingredients in a large bowl (minus the food coloring. We’ll get to that in the last step).
The mixture will be about the same consistency as pancake batter (let’s call it play dough batter for the remainder of the instructions 🙂 )
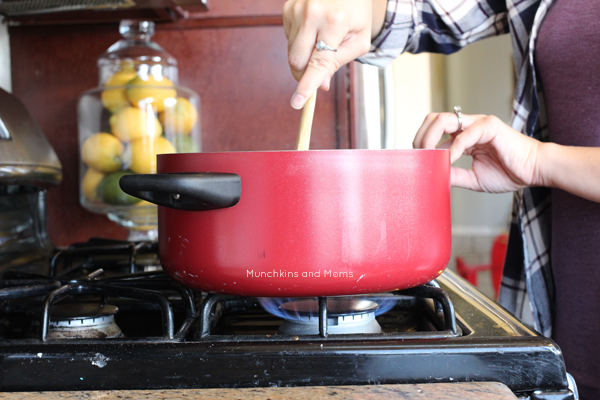
Pour the play dough batter into a pot over medium heat. Stir CONSTANTLY.
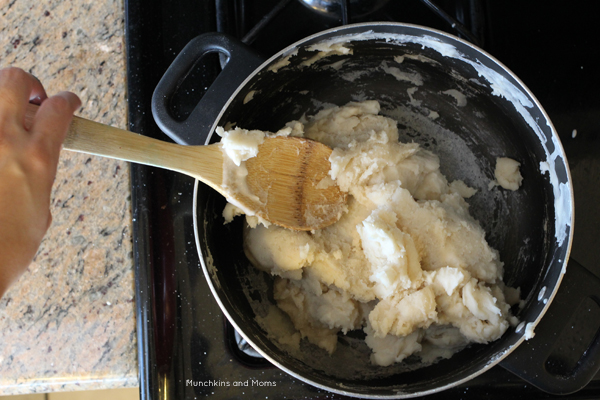
The batter will start to turn thick and sticky (don’t worry, it won’t damage your pot in any way). Continue muscling it and stirring for about 5 minutes until the batter forms a big blob of dough.
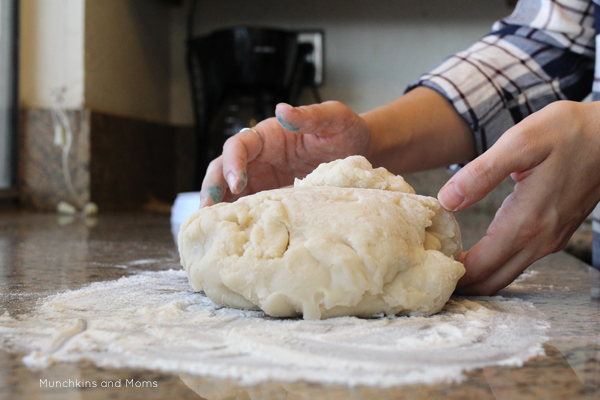
I plopped the whole blob on my counter to cool. You may choose to use a cutting board, wax paper, etc.
Once the dough cooled, I began kneading it (on the floured counter).
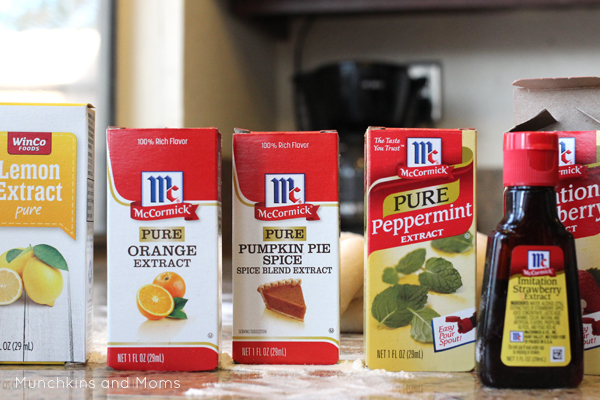
Pausing here to add an ingredient I didn’t mention before- extracts. I like to add a food based extract into our dough for scent, but it isn’t necessary. This time I scented the whole batch of play dough with a few tablespoons of Strawberry Extract.
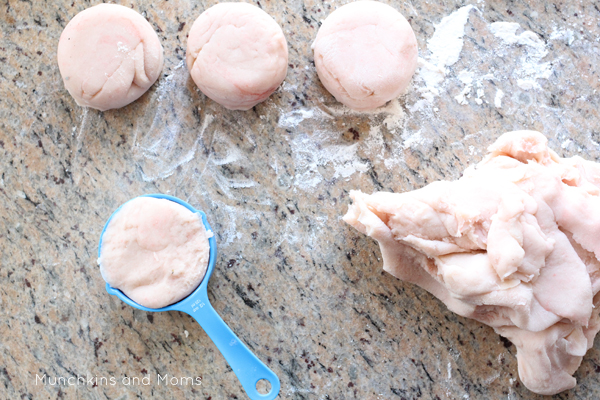
Once the extracts and dough became well combined, I separated the dough into 1/2 cup portions.
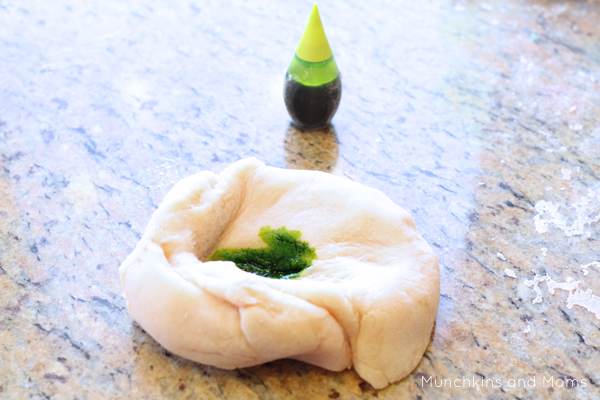
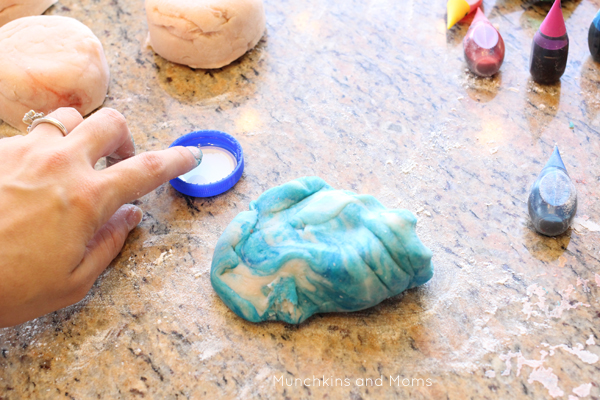
Using my thumb, I made a little well in the center of each portion and dropped in my desired amount of food coloring.
You may need to add flour if the dough gets too wet during this process. I also like to dab my fingers in a little bit of oil while kneading- it helps keep the dough nice and smooth without being sticky.
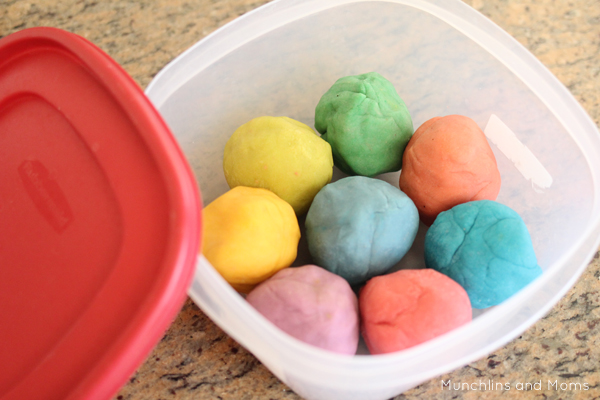
Once the play dough is all kneaded and colored, I store it for about an hour (I feel like it sets better if we let it rest before playing).
(This is also how we store it after play. All in one container like this and in our game closet. No need to refrigerate or do anything special!)
So how did your play dough come out? Share it with me on Instagram so I can see your success! Still not sure about cooking play dough? Try this no cook play dough recipe first!
Looking for more educational activities for your preschoolers? I’ve got you covered!
I’ve got 20 preschool unit plans that will help you teach your littles all year long!

This looks like such an easy and awesome recipe! My son is finally getting into playdough (it used to make him throw up to play with it) so I need this!! Thanks!