What age should I start teaching scissor skills?
One of the top posts on this blog is my review guide of preschooler scissors. It’s really no wonder why its such a popular post- scissors are a scary thing to hand over to kids! Parents are more than a little scared of handing them over to little hands (visions of self-made mohawks, trimmed clothing, and shredded papers fill their heads).
As parents, we want to make sure to start teaching scissor skills at just the right time (after the scary cut their own hair stage), but before they go into kindergarten (kinder teachers frequently bemoan the fact that kids are coming in not knowing how to cut!) So when should they start learning?
Teaching Scissor Skills
There is a small window that you don’t want to miss with teaching scissor skills. It happens around 3-4 years old. At three years old, kids will start learning to cut paper with their hands by ripping. That’s an important first step we don’t want to miss! But by 4 and 5, kids will be in kinder and should already have some SOLID experience with using scissors under their belts. The question is how to get to that point? Let’s start at the beginning…
The Ripping Stage
As kids rip paper, they are using both of their hands to pull paper in opposite directions. As their hands work on different tasks, they are developing bilateral coordination– an important developmental milestone! They are also learning how to manually cut paper and finding joy in doing so. Allow them to continue ripping paper before moving on to the next skill…
The Fringe Cutting Stage
This is the stage where scissors are in a child’s hands. With supervision, kids can start making snips up the paper. They won’t yet be able to cut through an entire sheet, but they can make small snips like hula skirt fringe 🙂
The Snipping Stage
Snipping refers to the act of cleanly cutting through paper in one motion. A child who can snip will be able to cut through a narrow strip of paper and cut off confetti-like bits with ease. Note: this does not have to be a separate stage from the fringe cutting stage.
The Continual-Cutting Motion Stage
This is the end goal. Continual cutting motion refers to the act of cutting through paper while being able to open and close the blades in a smooth, forward progression. At this stage, kids will be able to start working on cutting with specific goals in mind (cutting a straight line, curved line, zigzag line, etc.) You can print out worksheets with specific patterns on them, to help your child know what they are working with. Making your own printables becomes easier when you know How to convert docx to pdf. This exercise might give kids enough practice material for the latter stages.
So what now?
It’s nice to know the stages of cutting, but how do we actually transition kids from one stage to the next? What activities are best for them? Do we start with worksheets?
Repeat after me:” I will not start teaching scissor skills with worksheets…”
Notice nowhere in the beginning stages of scissor skills did it mention cutting straight lines a lá worksheet style. That won’t happen until the later stages of scissor skills!
To start teaching scissor skills, we need to work on more open-ended and process driven projects. Projects that do not require specific craft-like outcomes.
Teaching Scissor Skills without Worksheets
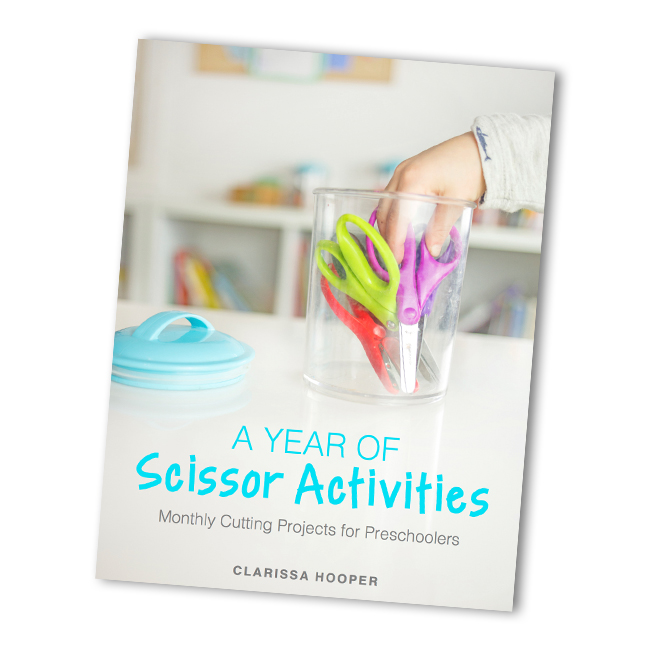
Ok, so what are some good projects to start with that don’t include worksheets? You can find several recommendations in my Tips for Teaching Scissor Skills post here, but if you are ready for a more thought-out step-by-step teaching guide I would recommend my book A Year of Scissor Activities: Monthly Cutting Projects for Preschoolers.
I wrote this book to combat the growing tide of worksheet-driven instruction. I firmly believe that teaching a new skill (in this case, scissor skills), does not need to start with a worksheet. While I understand that worksheet are cheap easy, so are the experiences they provided. We can do better.


