Before I delve into how to create this cute gift, here’s a quick note on my feelings regarding arts and crafts:
Oftentimes it is difficult to get toddlers to “make” a craft look a particular way. They color outside the lines, lack refined fine motor abilities, and loose interest quickly. Trying to get them to make something look a certain way is not developmentally appropriate, either. Toddlers (and, I believe, most children) need the opportunity to express themselves without being told how it “should look.” Forcing them to make an exact copy of someone else’s idea can stifle creativity and lower self esteem. That’s right- LOWER their self esteem. When what kids make is compared to a “standard,” they can be left feeling defeated due to their product not matching the standard, which is why I prefer open-ended and process driven art versus “crafts”.
That being said, I knew this year’s gift would not be a craft that involved lots of direction on my part. I also knew I wanted to make a picture gift. For such a gift idea, people might prefer searching for a canvas printing shop and getting the required picture framed in the desired material. For instance, someone in the UK can just search for Cheapest PRINTS ON CANVAS IN UK and get options for such services nearby to choose from. As for me, going to pick up prints at Target or waiting for Shutterfly to deliver them was not high on my list of priorities. So I found an easy way to make this project at home in just a few minutes (that’s really all the time a mom like me with two busy toddlers has anyways!) If you need some supplies then it would be a good idea to check your local store or to go online to websites like https://serp.co/best/scissors/ to find what you need for your kids’ project. Don’t forget to supervise at all times to ensure they are safe and not snipping scissors all over the place!
Here’s the “how-to”:
- Head over to Picmonkey.com and highlight the “edit” button.
- Choose what source you want your picture to come from.
- Once you have the picture loaded, go to the menu on the left of the screen and choose the “effects” icon.
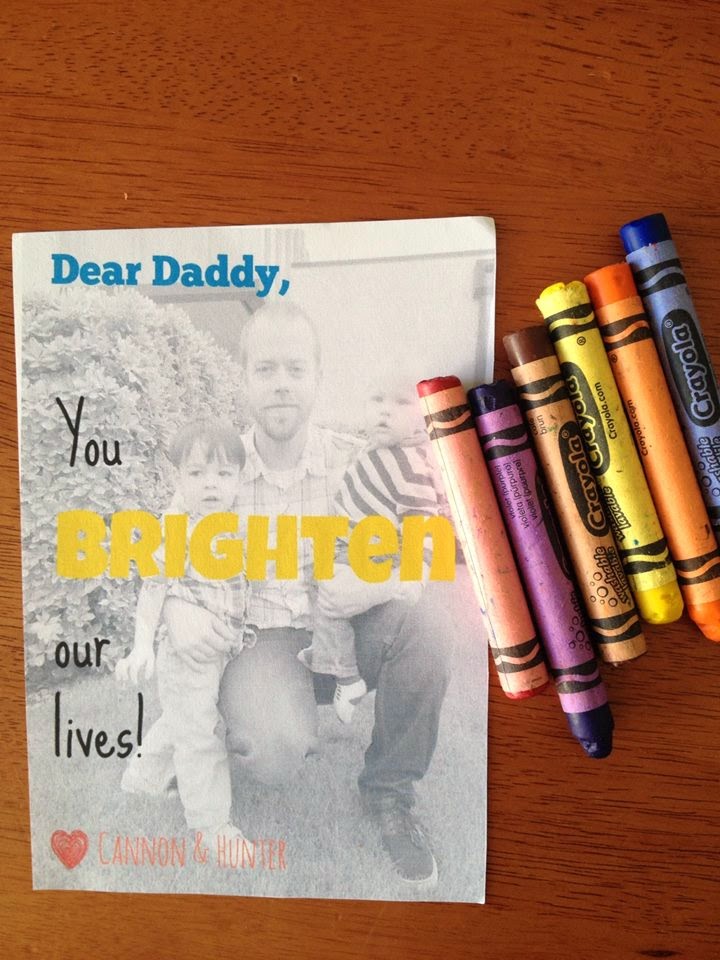
- Create a black and white pictures by applying the “black and white” feature. I found that printing a straight black and white picture is too dark for my needs in this project, so I lightened the picture following the rest of these steps:
- In the menu, click on the first icon to go to “Basic Edits”
- Select the “exposure” button and adjust the brightness to fit your needs.
- Go back to the menu to add text to the picture. Have fun with your message!
- Save the picture in your preferred format and print to your desired picture size.
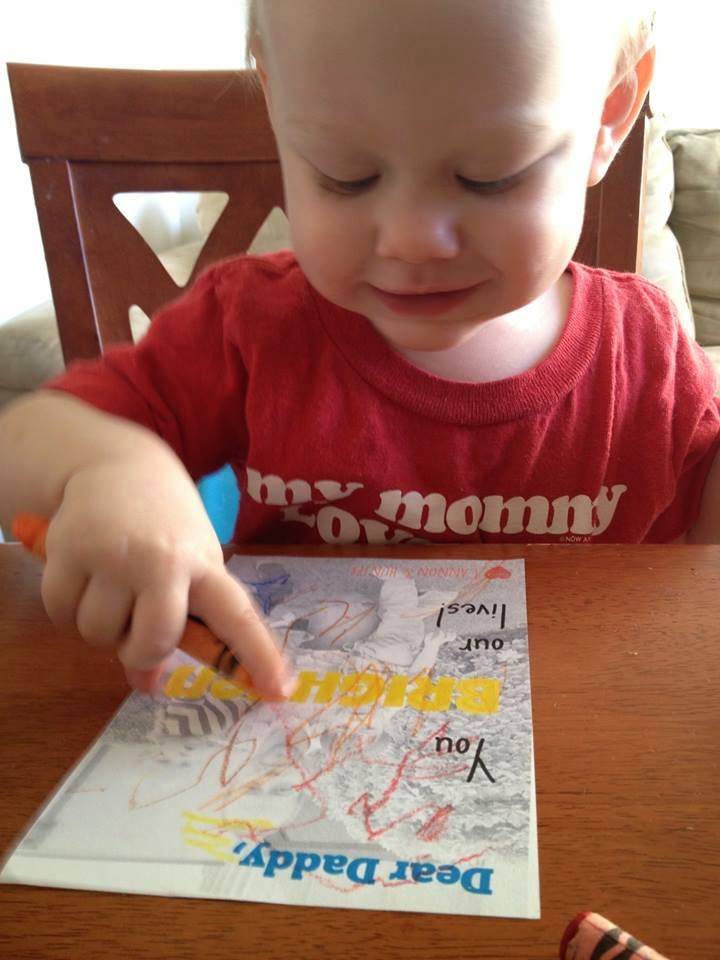
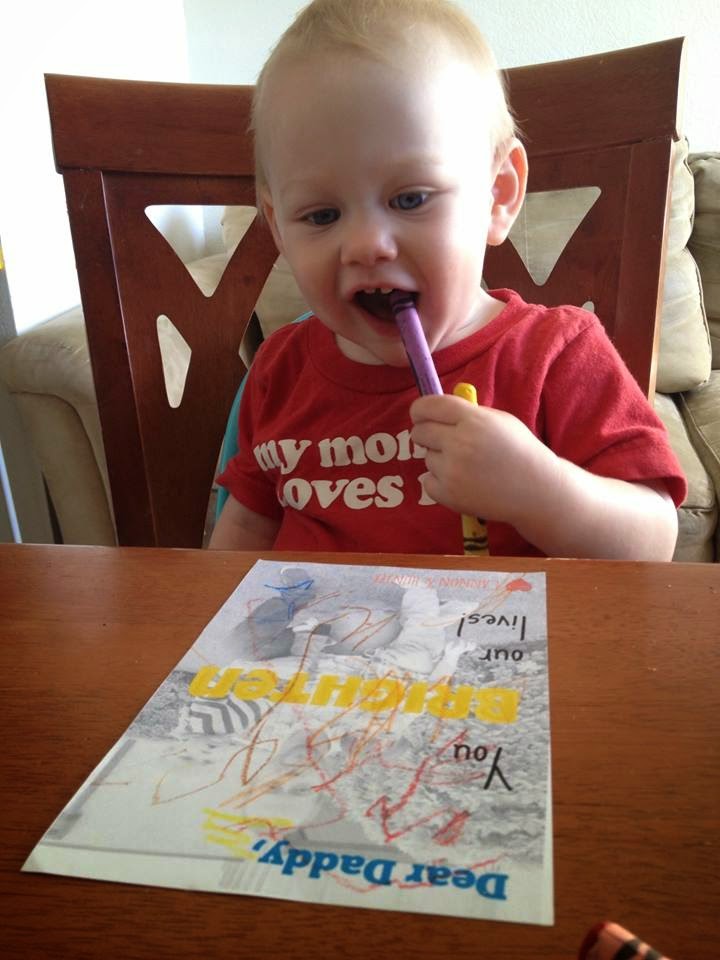
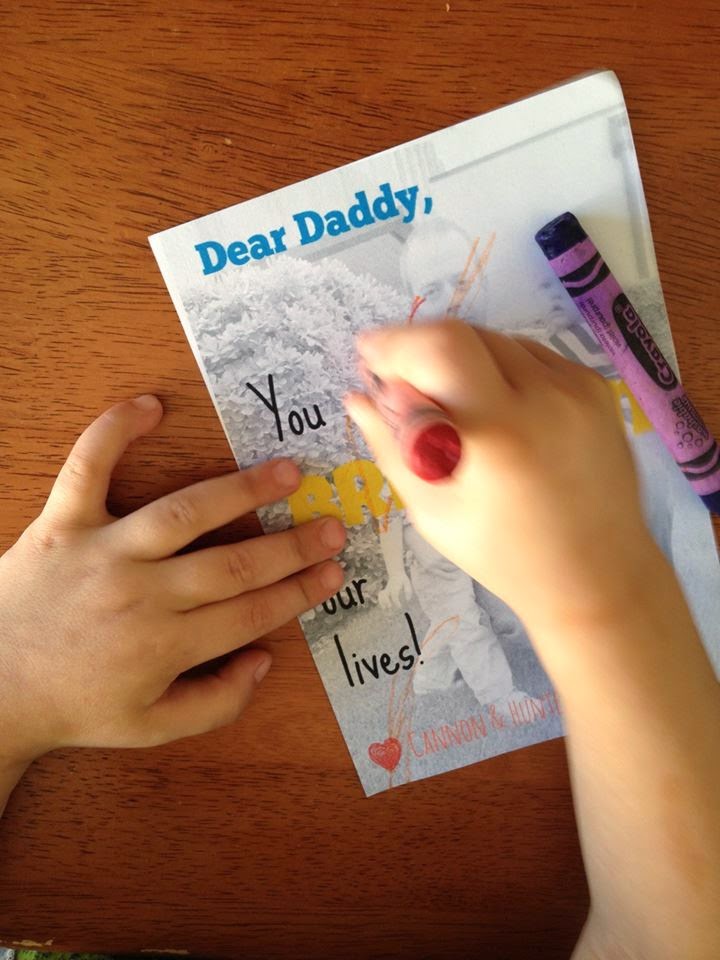
After printing I gave my boys some crayons (I like these chubby ones by Crayola) and let them color to their heart’s desire.
My one year old decided eating crayons was more fun than coloring, so he finished his end of the project very quickly 🙂
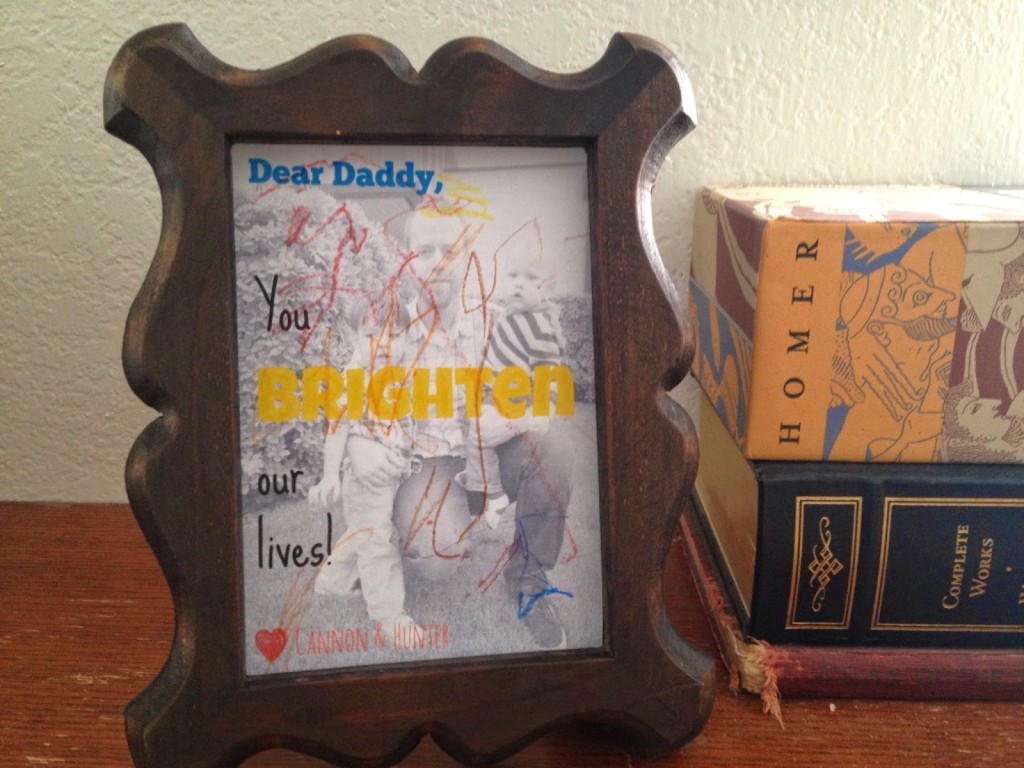
My two year old was amazed that he was able to color all over the picture! He kept saying “Daddy” as he colored him in. Then he went on to tell me he was adding a “yellow hat” on himself and “blue shoes” on daddy. What an imagination!
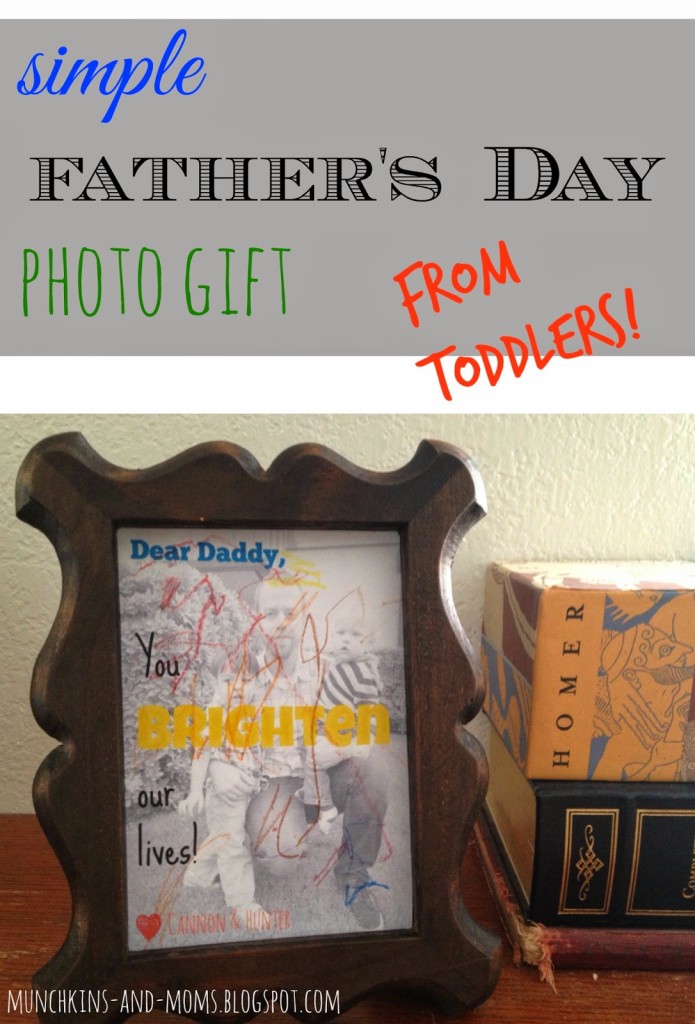
I love the way the finished product looks- and I know daddy will be overjoyed to see the boys had a chance to participate in the gift-giving this year 🙂

One thought on “Father’s Day Photo Gift”
Comments are closed.