{For your convenience, this post may contain affiliate links}

“Brown paper packages wrapped up in string, these are a few of my favorite things.”
Brown kraft paper, as plain as it may be, provides the perfect blank slate when packaging beautiful gifts, don’t you think? I’ll admit, I’m not normally a gift-wrapping pro. As a matter of fact, I usually just put gifts into bags (I know, B-O-R-I-N-G). But I really love when people go the extra mile to not only pick out the perfect gift, but also put time into making the outside of the gift look like- well, a gift in and of itself! My goal this season is to put in a little extra effort into presenting beautiful gifts to my friends and family.
While browsing Pinterest (my activity of choice when the kiddos nap), I came across this great idea for paper bows using upcycled kids artwork. Hey- I have kids. And I have plenty of artwork from them. Maybe I could do this… <looking over directions> Yes, I can TOTALLY do this! Want to make one too? Here’s what you’ll need to get started:
Supplies:
-
Kids artwork
-
Glue
-
Scissors
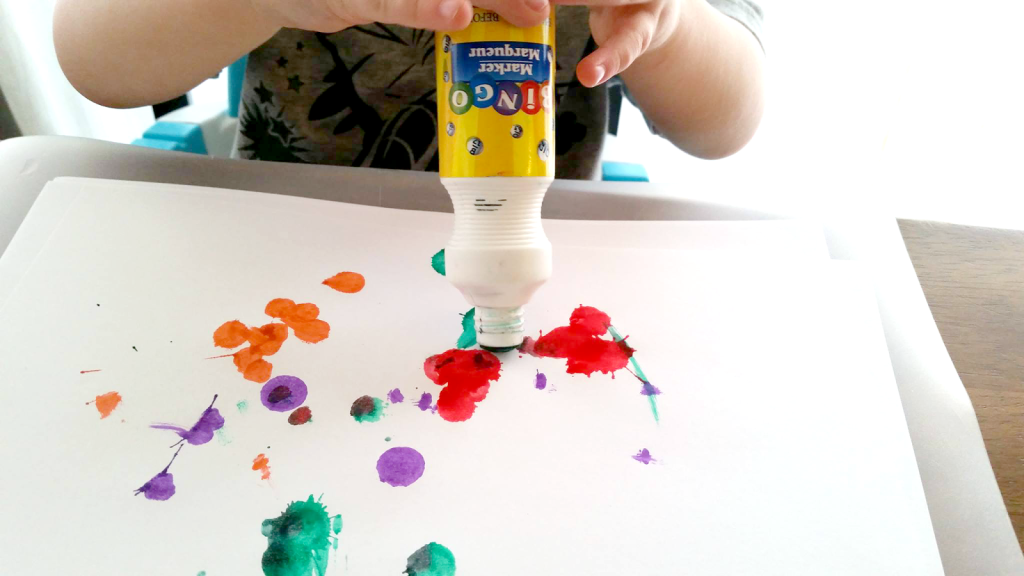
My youngest munchkin was pretty happy to help out with the art portion this project 🙂 We like using bingo daubers for fun, colorful art (they are an easy substitute for Do-a-Dot markers).
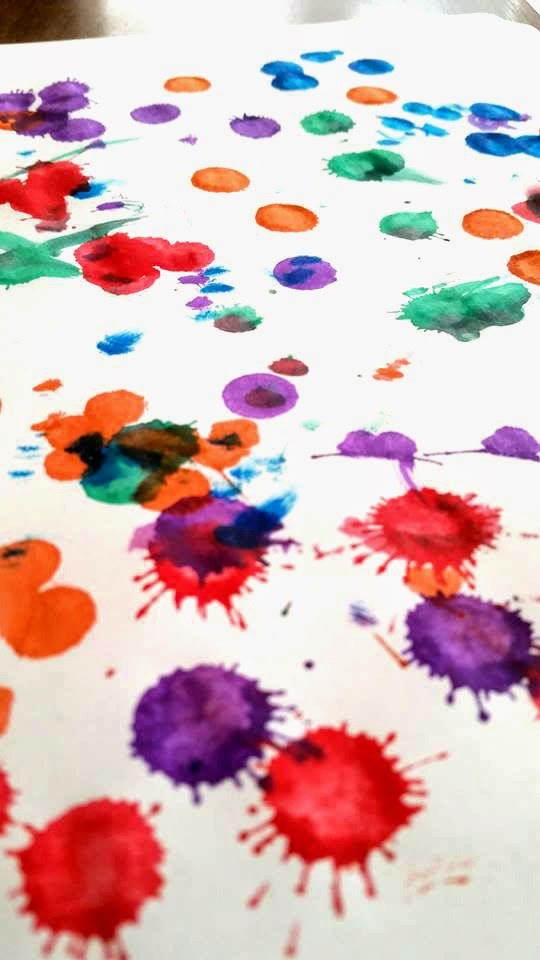
And how gorgeous did this art come out? Beautiful, right? (Although I may be a bit bias) 😉
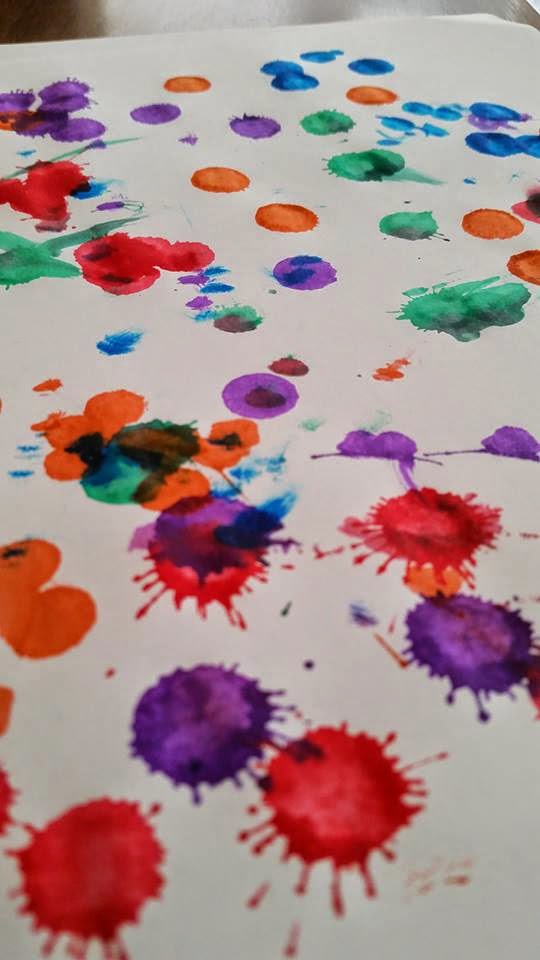
Ok. Here’s where I get honest. We made a few pieces of art because this bow just didn’t come out right the first time around (I followed these instructions to a “T”). I didn’t get a picture, but the bows looked a bit funky. I made some adjustments to the process which really helped out (hope these tips will help you if you’re a novice bowmaker like I am!):
-
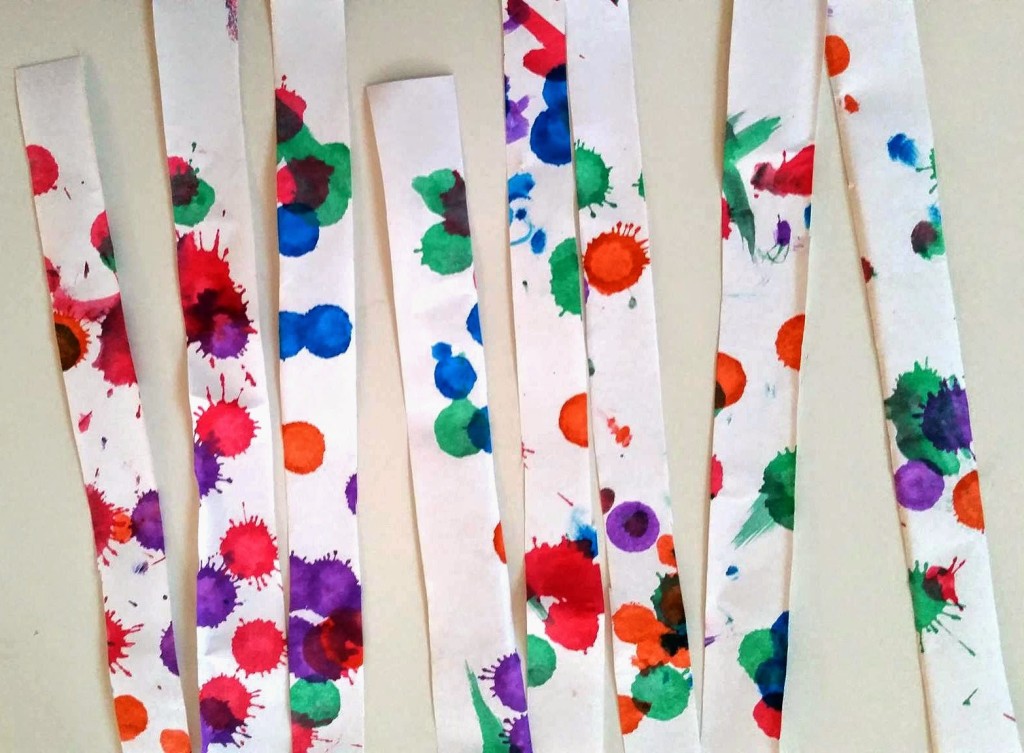
After the art is finished and dry, cut strips that are 3/4 inch wide and 11 inches long (the length of a standard piece of paper). you’ll need at least 8 strips.
-
Keep three of those strips full length (no trimming necessary). Take three more and trim them to be 9 inches long (so you’ll be cutting 2 inches off the length). Take another one and trim to 6 inches long. Take one more and trim to 4 inches long. You should end up with 8 strip of paper.
-
Gently fold each strip in half to mark the center of the paper. Unfold them to return to full length.
I’m not even going to attempt to describe the next steps. Not because they’re difficult, but because they are much more clear when seen through pictures (and I didn’t have an extra set of hands to photograph myself). So I’m leading you to an EXCELLENT photo tutorial found here. Note that she is stapling her paper strips while I chose to glue mine, either way works fine.
The tutorial makes it look easy, right? I’ll tell you it’s not too tough, but I did make more than one and I still don’t feel like an expert bow-tician (get it? bow-tician like beautician? I can’t help it- I like plays on words) 🙂 What do you think? Will you try making your own? I really love the fact that the bows are made out of my own kids’ artwork, so I this project is a keeper for me!
Who do you think would appreciate these bows most? Grandparents? Aunts/uncles? I think I’ll keep these to put on daddies gifts 🙂
