
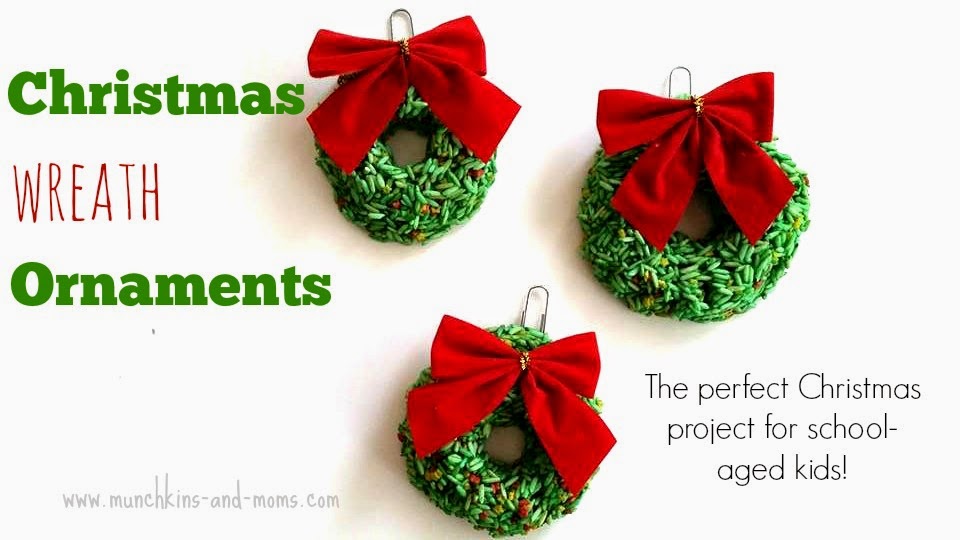
One of my favorite things to do this time of year is look through all the old Christmas ornaments that my mom has saved up through the years. All the school project ones bring back great memories. Christmas in school was (and still is!) the most wonderful and magical time of the year. All the handmade gifts (ornaments, calendars, cards) that we did in class brought me such joy to take home and place under the tree (or in this case, on the tree).
Now that I’ve got munchkins of my own, I really wanted to start the tradition of making handmade ornaments early. I thought what’s better than these classic rice and glue ornaments that were ever-so-popular during my time in school? My oldest loves sensory bins (see our Insect Sensory Bin that he played with for days), so making these rice ornaments seemed like a natural extension to a rice sensory bin that he might play with.
Supplies:
- Green colored rice *
- Star shaped pasta * (optional, but they look like pretty berries in the wreath!)
- Decorative bows
- Paper clips
- Glue gun
- White school glue
*See my “How to Dye Pasta” guide if this is new to you!
First, I simply set out the rice and stars for my munchkin to enjoy as a sensory activity. That was all nice and fun, but after a few minutes I brought out the glue and he was full on ready for the next step…or so I thought…
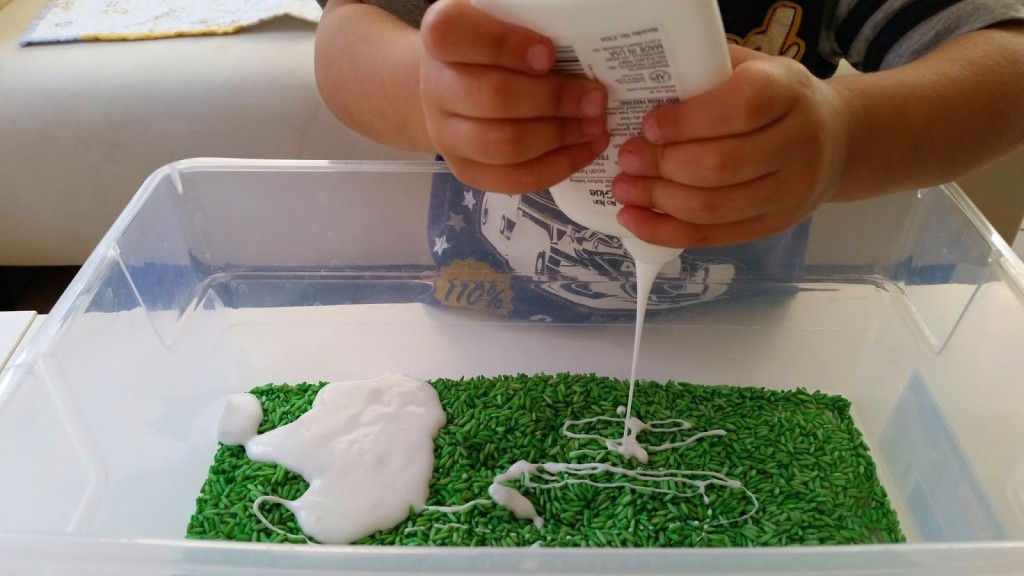
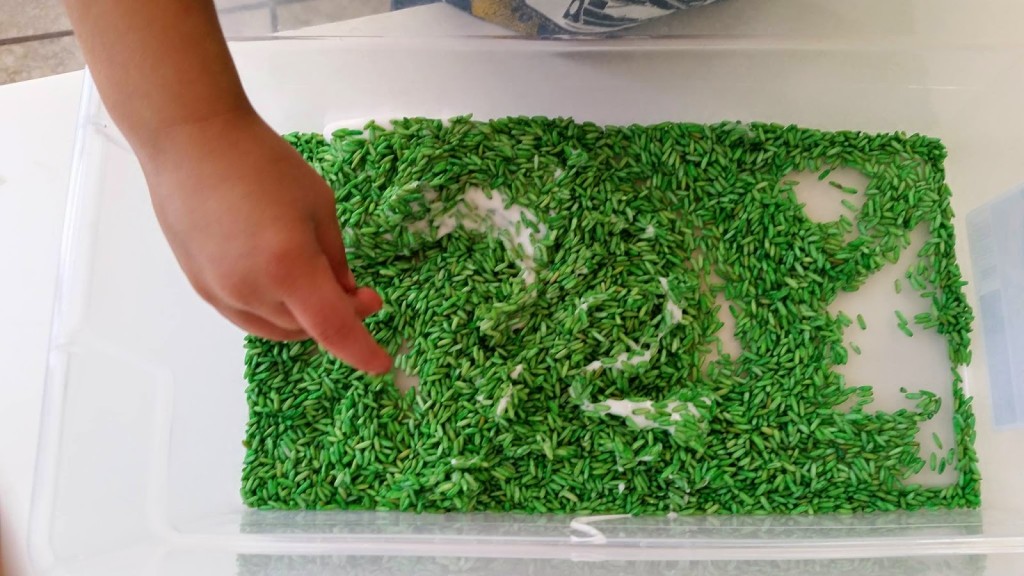
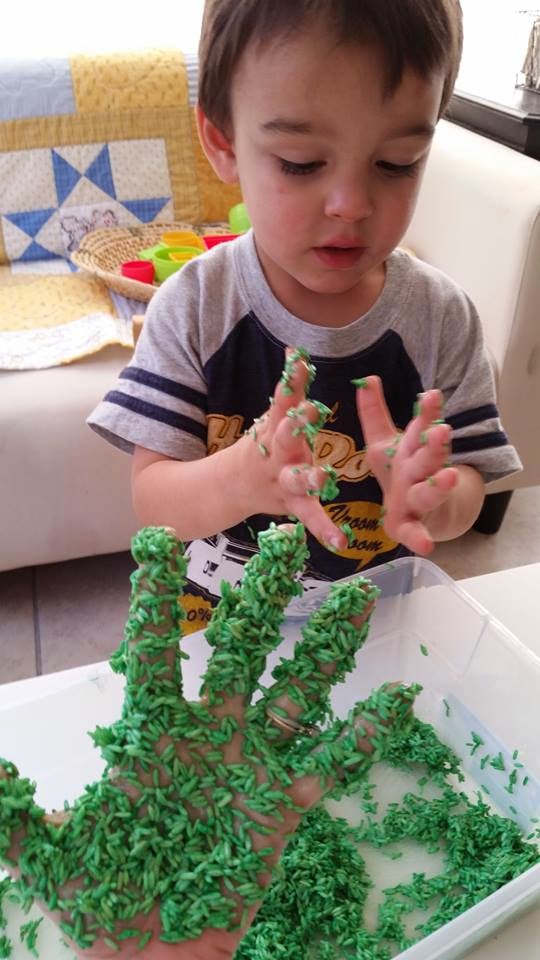
I let Cannon squeeze the glue into the rice bin (I didn’t follow any exact recipe measurements here, but I would estimate that I had 3 cups of rice and 2 tablespoons of glue). He was pretty thrilled about the squeezing task! Next was the mixing part, but he was far less thrilled with that!
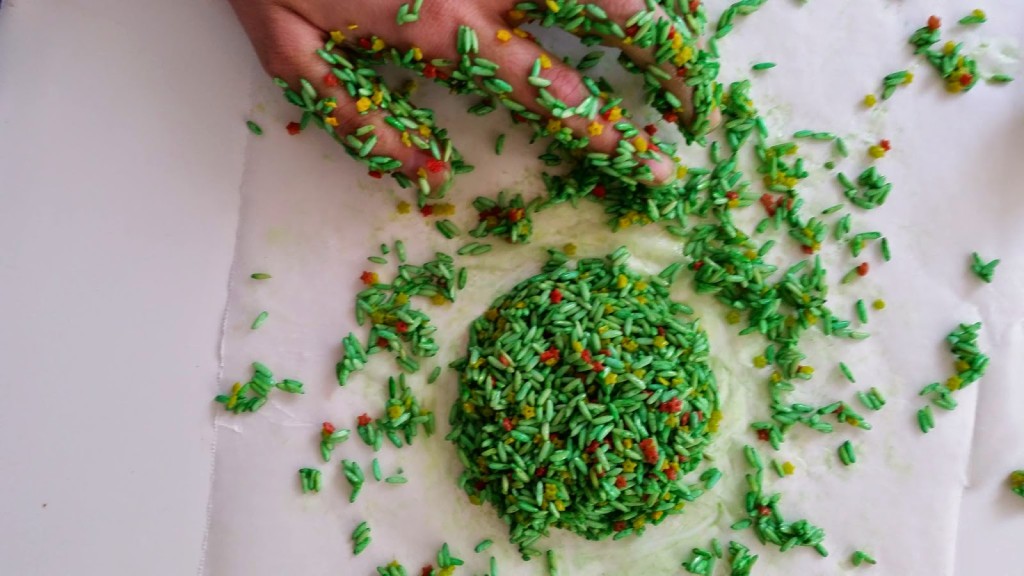
Make sure to have some type of round object handy to push a hole through the center of the wreath. I ended up using a cylinder wooden peg.

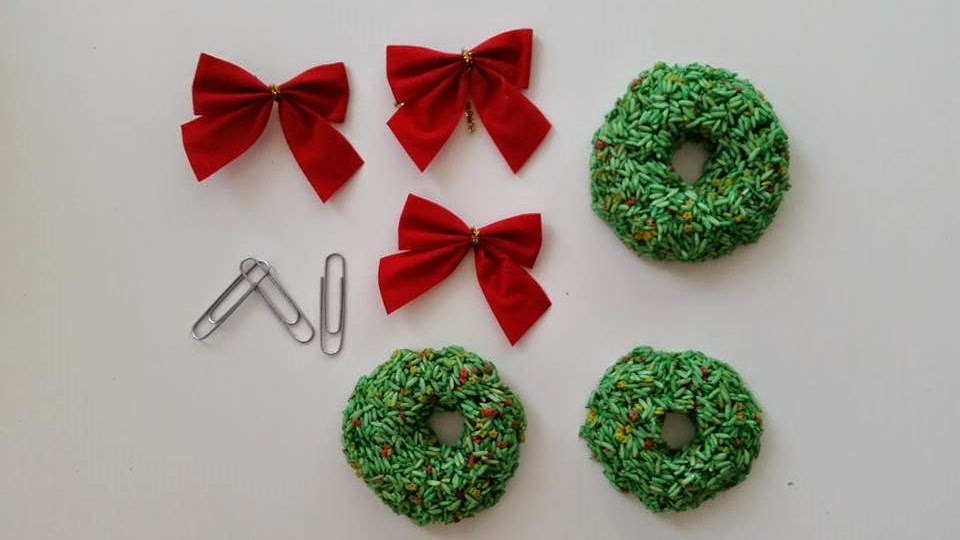
The ornaments will need to dry overnight. Doesn’t that star pasta look great mixed in? I ended up using red and yellow dyed stars 🙂
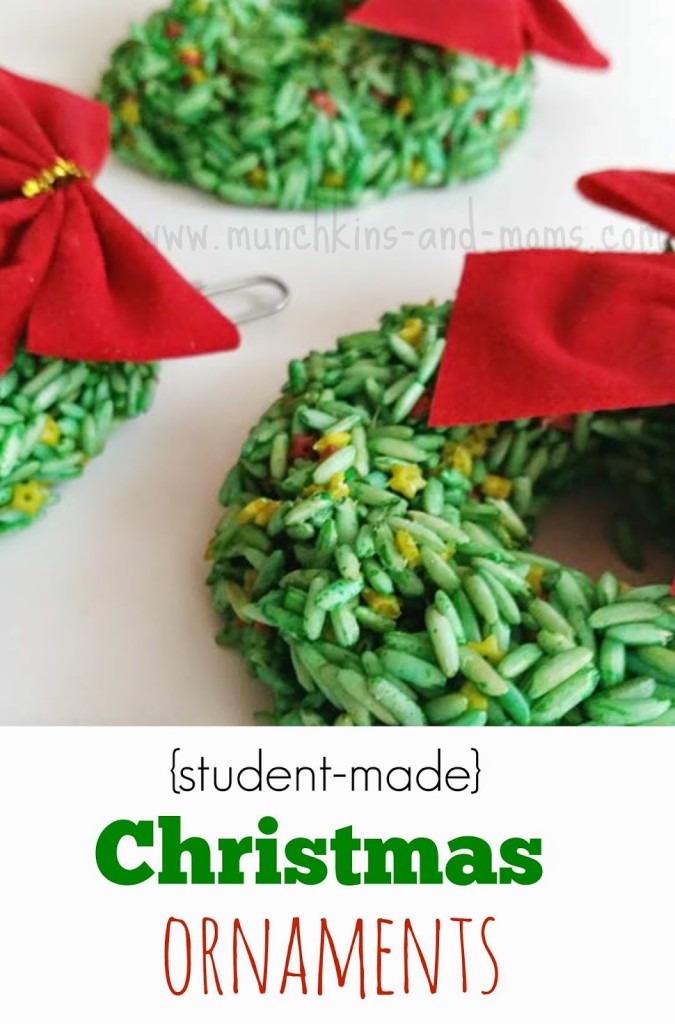
The next morning the ornaments were ready for finishing touches. I hot glued decorative bows on each one and a paper clip on the back (to use for hanging).

2 thoughts on “Christmas Wreath Ornaments”
Comments are closed.